
Tips for Painting Furniture Like a Pro
Furniture Painting Tips
Tips for Painting Furniture Like a Pro
Are you looking to transform your tired and worn-out furniture into stunning pieces that breathe new life into your space? Painting furniture can be a rewarding and cost-effective way to revitalize your home decor. With a few expert tips and tricks, you can achieve professional-looking results that will leave your friends wondering how you became a master painter overnight. In this guide, we will share unique perspectives and practical advice to help you paint furniture like a pro.
1. Choose the Right Paint: The first step to achieving a flawless finish is selecting the right paint. Opt for a high-quality paint specifically formulated for furniture, such as acrylic or latex paint. These types of paint adhere well to various surfaces and offer durability. Satin or semi-gloss finishes work best for furniture as they are easy to clean and provide a subtle sheen.
2. Prepare the Surface: Proper preparation is key to a smooth and long-lasting paint job. Start by cleaning the furniture thoroughly to remove any dirt, grease, or old finishes. Sand the surface gently using fine-grit sandpaper to create a slightly rough texture, ensuring better paint adhesion. Remember to wipe away any dust before moving on to the next step.
3. Use Primer: While primer may seem like an extra step, it is essential for achieving a professional-looking finish. Primer creates a smooth and even base, covers stains, and prevents the wood from absorbing too much paint. Apply a thin coat of primer using a brush or roller, and let it dry completely before moving on to the next stage.
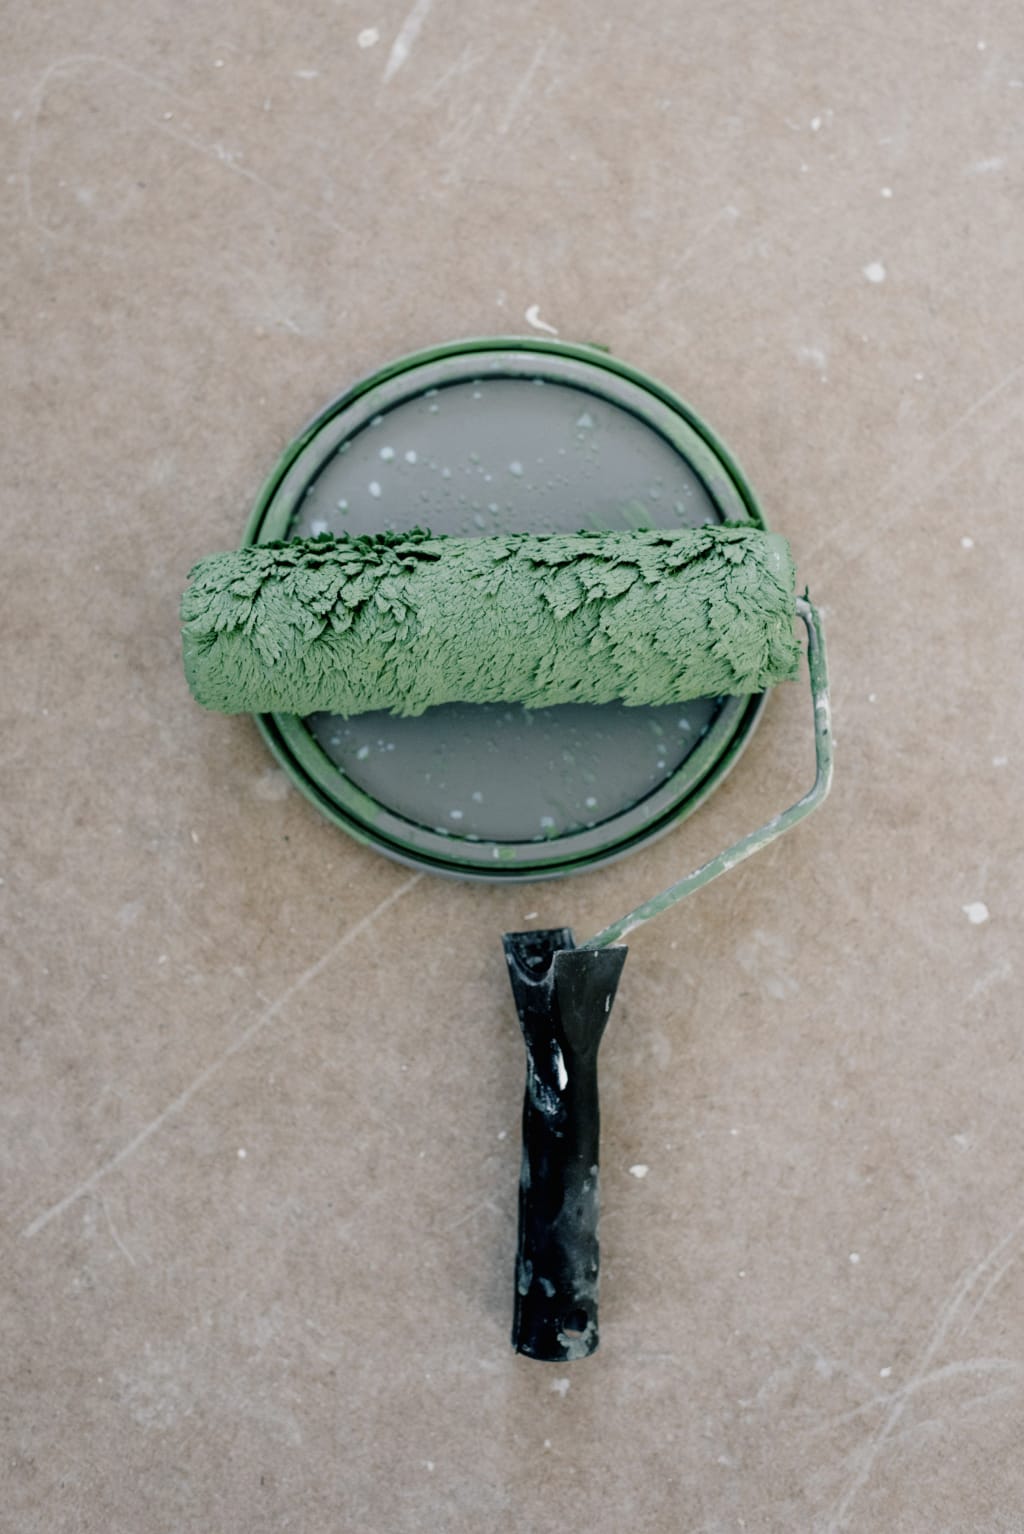
4. Invest in Quality Brushes and Rollers: The tools you use can make a significant difference in the outcome of your painting project. Invest in high-quality brushes and rollers designed for smooth finishes. A good brush will hold more paint, provide even coverage, and minimize brush strokes. Similarly, a high-quality roller will distribute paint evenly and leave behind a flawless finish.
5. Master the Art of Brush Strokes: Brush strokes can be the bane of a painter's existence, but with a few techniques, you can achieve a professional finish. When using a brush, start by lightly loading it with paint, and apply thin coats in long, even strokes, following the grain of the wood. Work in small sections, blending each stroke smoothly into the previous one. If you encounter any drips or brush marks, gently smooth them out before the paint dries.
6. Embrace the Beauty of Distressing: Distressed furniture adds character and a vintage charm to any space. Embrace this trend by using sandpaper or a sanding block to distress certain areas of your painted furniture, revealing the underlying wood or a contrasting layer of paint. Focus on areas that would naturally experience wear and tear, such as edges, corners, and raised details. Experiment with different degrees of distressing until you achieve the desired look.
7. Seal the Deal: To protect your freshly painted furniture and ensure its longevity, apply a clear topcoat or sealant. Polyurethane or furniture wax works well as a protective layer. Brush on a thin, even coat and allow it to dry according to the manufacturer's instructions. This step will help prevent chipping, scratches, and stains, keeping your painted furniture looking pristine for years to come.
8. Get Creative with Color: Don't be afraid to explore different colors and finishes to add a personal touch to your furniture. Consider using complementary or contrasting colors to create visual interest. Experiment with various techniques like ombre or stenciling to add unique patterns or designs. Let your creativity shine and transform your furniture into one-of-a-kind pieces that reflect your style.
9. Practice Patience: Patience is a virtue when it comes to painting furniture. Allow each coat of paint, primer, and sealant to dry thoroughly before proceeding to the next step. Rushing the drying process can lead to smudges, uneven finishes, and frustration. Follow the recommended drying times on the product labels, and find a well-ventilated area to ensure proper airflow, aiding in the drying process.
10. Pay Attention to Detail: The little details can make a big difference in the overall look of your painted furniture. Take the time to remove hardware, such as knobs or handles, before painting. This allows for a clean and professional finish, as well as easier access to all areas of the furniture. If you wish to keep the hardware, consider giving it a fresh coat of paint or replacing it with new pieces that complement your updated furniture.
11. Practice and Learn: Painting furniture, like any skill, takes practice. Don't be discouraged if your first attempt doesn't turn out exactly as you envisioned. Take the opportunity to learn from any mistakes and try different techniques. Each project will provide valuable experience and help you refine your skills. With time, you'll become more confident and adept at achieving the results you desire.
12. Think Beyond Wood: Furniture painting isn't limited to wooden surfaces. You can use these techniques on a variety of materials, such as metal, laminate, or even plastic. Just ensure you choose the appropriate paint and prepare the surface accordingly. This opens up a world of possibilities for transforming not only wooden furniture but also other items in your home.
Painting furniture allows you to unleash your creativity and breathe new life into your living space. By following these expert tips, you can achieve professional-looking results that will leave your furniture looking fresh, stylish, and revitalized. Enjoy the satisfaction of knowing that you transformed your space with your own two hands, and let your painted furniture become a reflection of your unique style and personality.
So, gather your supplies, select your color palette, and embark on the journey of transforming your furniture like a pro. Embrace the creativity, enjoy the process, and watch as your painted pieces become focal points that elevate the aesthetic appeal of your home.
About the Creator
Keep reading
More stories from Eze Shedrack and writers in Humans and other communities.
Creating a Stylish and Functional Home Office
Creating a Stylish and Functional Home Office In today's digital age, more and more people are working remotely and embracing the flexibility of a home office. Whether you're a freelancer, an entrepreneur, or someone who occasionally brings work home, having a stylish and functional workspace is essential. Your home office should be a place that inspires productivity, fosters creativity, and reflects your personal style. With a unique perspective and practical tips, this guide will help you create a home office that combines style and functionality seamlessly.
By Eze Shedrack3 years ago in Humans
At My Wits’ End
Life is about taking out the trash and calling it trash because you have every reason to. It wasn't meant to be linear, they say. But the times you tried to make it straight led to problems, and you didn’t have the tools to put any of it to use. You don't put your right shoes on the right feet; you put the left shoes on the left feet. The grey hardened slab will trip you up anyway.
By Caitlin Charlton3 days ago in Humans
Using Psychology To Build Meaningful And Lasting Connections
The attachment theory forms the foundation of psychology in establishing long-term relationships. The attachment styles adopted by people, such as secure, anxious, and avoidant, are formed under the influence of early life experiences and are reflected in the relational behavior of adults. Get to know your own style so that your tendencies such as fear of intimacy, clinginess or withdrawal can be pointed out. Being aware of such trends enables individuals who are single to be purposeful in their dating lives as opposed to the reiterations of the wrongdoings. Secure attachment provides open communication, trust and emotional stability that is important to meaningful connections. The knowledge of individuals and their partners attachment styles can be used to overcome difficulties and enhance the compatibility aspect of relationships in the long run.
By Tiana Alexandra4 days ago in Humans


Comments
There are no comments for this story
Be the first to respond and start the conversation.