
How to thread a brother sewing machine in an easy way
How to thread a brother sewing machine in an easy way
Are you worried about “how to thread brother sewing machine”? I hope I can help you.
At every step, I was making mistakes again and again. It so happened that one day the needle went into my hand. But then I did not give up. I slowly went to learn everything. So, if you are new, go ahead with patience. Success will come one day.
It is essential to know how a Brother sewing machine threads. There are some rules before threading. Those rules you need to know first. Then you will start threading as well. Let’s start to know about those rules.
Setting up the brother sewing machine:
Firstly, you have to attach the foot controller with the brother sewing machine. You have to connect the power supply plug into a wall outlet. Now turn the main power switch on the sewing comes on when the sewing machine turns on.
Winding the bobbin and lower thread setting:
Now read once how to set bobbin winding and low thread.
Use bobbin:
Only you should use the bobbin that had planned for your sewing machine. The application of bobbins from older models may cause damage to the sewing machine.
Spool of thread set:
You need to raise the spool pin completely up and enter the spool of thread into the spool pin for the bobbin.
Thread guide setting:
In this time, you have to pull the thread into the thread guide. Moreover, you need to hook the thread from the front to back around the prentice discs correctly.
Bobbin winder setting:
You need to pull the thread’s end through the bobbin hole from inside’s bobbin. Moreover, You need to attach the bobbin to the bobbin winder shaft and move the shaft to the right. You need to keep the bobbin on until the position is right.
How to wrap the thread in the bobbin:
Now, you should turn the main power switch while gently holding thread from the bobbin. Moreover, you need to press the foot controller lightly. Line the thread around the bobbin a few minutes and then pause the machine. Next, you need to trim the extra thread on top of the bobbin with scissors. Ensure you skip the extra thread only before turning the bobbin.
Now, turn the thread again through keeping the foot controller down wholly. When the bobbin is complete, the bobbin begins to turn gradually. You should remove your foot from the foot controller to pause the machine. You need to cut the thread with a scissor. Now, stop the winder shaft of the bobbin to the left and dislodge the bobbin.
Lower thread setting:
Firstly, Before setting the lower thread, turn off the main power switch. Now, raise the needle by turning the handwheel toward you and raise the presser foot lever. The position is correct when the mark on the handwheel points directly up. Simultaneously, remove the bulb and cover by sliding it toward you and put the bobbin in so that thread comes out from the left side.
Next, you need to hold the end of the thread with your left hand. Now, push the bobbin down lightly with your right hand and then pass the thread through the slit. So, ensure the thread is correctly entered through the tension setting spring of the bobbin case. Now, replace the bobbin cover. Finally, you have completed the setting of the lower thread.
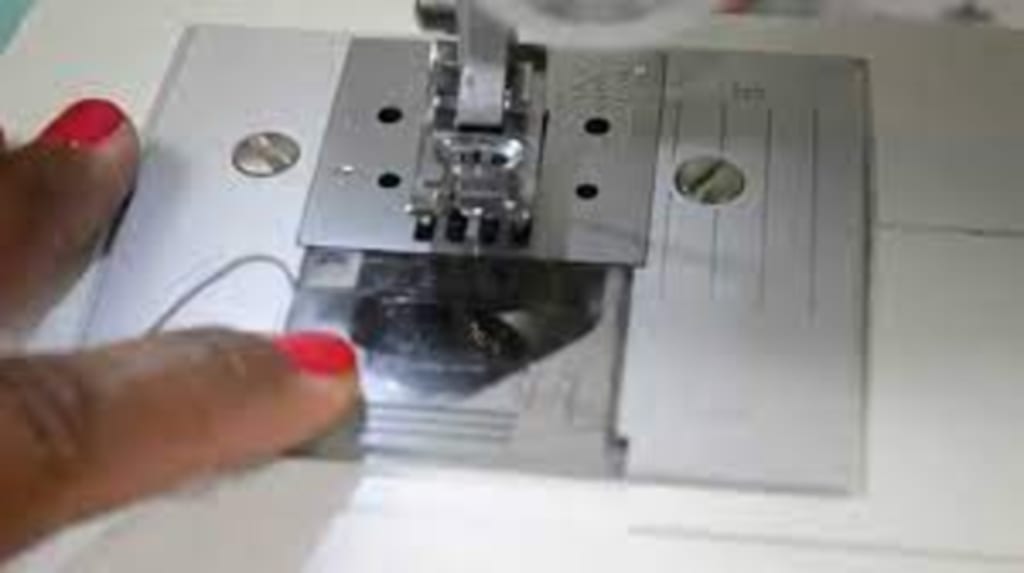
Upper threading of brother sewing machine:
It is an essential process. So, you should take it seriously. If you miss any step in this process, you can’t thread your brother sewing machine. Now let’s take an understanding of how to pass the thread on the top of your brother sewing machine.
Thread set up in the spool pin:
In this process, ensure that the main power switch is off and the presser foot lever rises. Besides, you have to raise the needle by rotating the handwheel. Now, you need to pull up the spool pin entirely and then enter the spool thread for the upper thread so that the end of the thread comes out easily.
How to pass the thread from thread guide:
After completing the thread setting in the spool pin, now keep holding the thread from the spool using both hands. Pass the thread to the thread guide groove from the back to the front to come out toward you.
How to pass the thread from the take-up lever:
Then, catch the thread with your right hands and use your left hand to turn the thread along with the groove guide. Make sure you enter the thread through the thread take-up lever from right to left.
The final setting of the upper and lower thread:
Now we are going to inter in the final step of setting our brother sewing machine. Now, catch the thread in your left hand and include it through the needle holder thread guide with your right hand. Then, you have to lower the pressure foot down and thread the needle to hold the end of the thread lightly. Moreover, you need to raise the presser foot and gradually rotate the handwheel once to raise the needle.
Now, pulling the top thread will bring out the inner thread. Then, pull the internal thread out with your fingers. Puts the upper thread and lower thread under the presser foot and pull out about 5 centimeters to inches of thread toward the back of the sewing machine. Now you can start your sewing. Take your choosing fabric and begin to sew. For better understanding, you can watch the giving video.
Conclusion:
That was about “how to thread a brother sewing machine.” I tried to keep everything about this topic. But I think you should follow some other site’s blog post and some YouTube video.
About the Creator
Keep reading
More stories from Heather Knight and writers in Lifehack and other communities.
Why is my thread looping on the bottom?
Almost everyone with a sewing machine has seen this at some point. It makes no difference what machine you own, it can make the stitch 🙂 Small or Large loops on the bottom of the fabric. The story is either “it was fine and now it’s looping on the bottom”, or the more common “I loaned my machine to my _____ (fill in the blank, neighbor, mother, daughter, sister, friend, etc.) and now it’s broken. There are large loops on the bottom of the fabric”. The reality is that only about one in a thousand machines are actually broken, so hopefully this article will help you keep sewing when it happens at 7:00 p.m. on a Friday night of a long weekend.
By Heather Knight3 years ago in Lifehack
'Till Death We Do Art
There would be nothing divine in this world without art. Nature may surpass the divine to all intents and purposes, but like everything it absorbs and is absorbed by, it remains here, stuck on the surface of this world, ever-present, physically bound to the universe.
By Avocado Nunzella BSc (Psych) -- M.A.P about 16 hours ago in Art


Comments
There are no comments for this story
Be the first to respond and start the conversation.