
Step-by-Step: How to Install a Split System Air Conditioner
The Ultimate Guide to Split System Air Conditioner Installation

Installing a split system air conditioner can be an excellent way to enhance comfort in your home, especially during the hot Australian summers. This guide provides a comprehensive, step-by-step approach on how to install a split system air conditioner, ensuring you understand each aspect of the installation process. Whether you are a seasoned DIY enthusiast or a beginner, this guide will equip you with the knowledge needed to carry out a successful installation.
What is a Split System Air Conditioner?
Before we delve into the installation process, let’s briefly discuss what a split system air conditioner is. A split system consists of two main components: an indoor unit and an outdoor unit. The indoor unit is installed within your home, while the outdoor unit is positioned outside. These units are connected via refrigerant pipes and electrical lines, allowing for efficient cooling or heating of your living space.
Benefits of Split System Air Conditioners
Choosing to install a split system air conditioner comes with several benefits:
Energy Efficiency: Split systems are designed to provide targeted cooling, which can lead to lower energy bills.
Flexible Installation: They can be installed in various configurations and locations.
Quiet Operation: The outdoor unit handles most of the noise, making indoor units operate quietly.
Zone Control: Many split systems allow for individual temperature settings in different rooms.
Now that you understand the basics, let’s get into the detailed steps on how to install a split system air conditioner.
Step 1: Gather Your Tools and Materials
Before you start, ensure you have the following tools and materials on hand:
Tools Needed
- Drill
- Screwdriver
- Level
- Pipe cutter
- Wrench set
- Vacuum pump
- Manifold gauge set
- Tape measure
Materials Needed
- Split system air conditioner unit
- Mounting bracket
- Insulated copper pipes (usually included with the unit)
- Electrical wiring (if not included)
- Sealant
- Wall brackets and screws
Step 2: Choose the Installation Location
Selecting the right location for your indoor and outdoor units is crucial. Consider the following:
Indoor Unit: Choose a spot that provides optimal airflow. Ideally, this should be centrally located and away from direct sunlight or obstructions.
Outdoor Unit: This should be installed on a solid base, preferably elevated, to prevent water pooling. Ensure it has ample clearance around it for airflow and maintenance access.
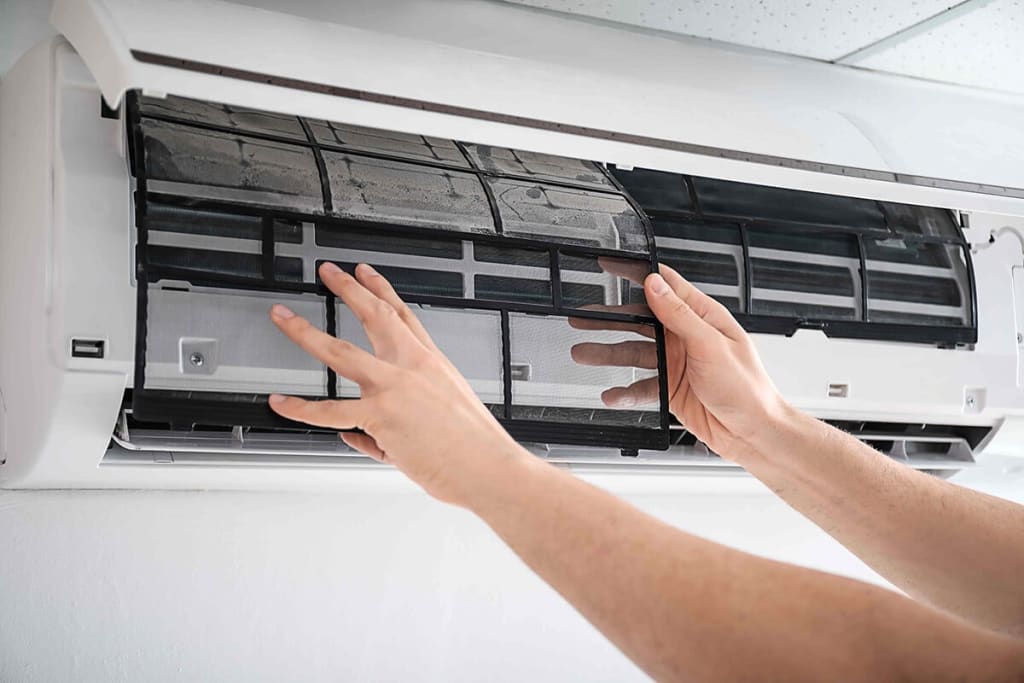
Step 3: Install the Indoor Unit
Mounting the Bracket: Use a level to mark where you will mount the bracket on the wall. Drill holes and install the mounting bracket securely.
Drill a Hole: Drill a hole through the wall for the refrigerant pipes and drainage line. The hole should slope slightly downward to allow for drainage.
Connect the Indoor Unit: Attach the indoor unit to the mounting bracket, ensuring it is securely fastened.
Run the Refrigerant Lines: Feed the insulated copper pipes and electrical wires through the hole you drilled, connecting them to the indoor unit.
Step 4: Install the Outdoor Unit
Positioning the Unit: Place the outdoor unit on the pre-prepared base. Ensure it is level and stable.
Connect the Refrigerant Lines: Attach the insulated copper pipes from the indoor unit to the outdoor unit. Use the appropriate fittings and tighten them securely with a wrench.
Electrical Connection: Connect the electrical wiring from the indoor unit to the outdoor unit, following the manufacturer’s instructions. This may involve connecting to a dedicated circuit breaker.
Step 5: Vacuum the Refrigerant Lines
Using a vacuum pump and manifold gauge set, evacuate the refrigerant lines to remove any moisture and air. This step is critical to prevent damage to the system and ensure it operates efficiently.
Connect the Manifold Gauge: Attach the gauge to the service ports on the outdoor unit.
Turn on the Vacuum Pump: Run the vacuum pump for at least 15-30 minutes, monitoring the gauge to ensure it holds a vacuum.
Step 6: Charge the System
After vacuuming, you’ll need to charge the system with refrigerant:
Open the Service Valves: Gradually open the service valves on the outdoor unit, allowing the refrigerant to flow into the system.
Monitor Pressures: Keep an eye on the gauges to ensure the pressures are within the recommended range.
Step 7: Test the System
Once everything is connected, it’s time to test your installation:
Turn on the Power: Restore power to the outdoor unit.
Set the Thermostat: Adjust the thermostat to your desired temperature.
Check Operation: Ensure both the indoor and outdoor units are functioning properly. Listen for any unusual sounds and check for leaks around the connections.
Step 8: Seal and Insulate
After testing, seal any gaps around the refrigerant lines with sealant to prevent air leaks. Ensure that all connections are insulated to maintain efficiency.
Step 9: Perform Final Checks
Inspect for Leaks: Check all connections for refrigerant leaks.
Check Drainage: Ensure that the drainage line is properly routed and not blocked.
Clean Up: Remove any debris from the installation process, ensuring a tidy area around both units.
Conclusion
Congratulations! You now know how to install a split system air conditioner effectively. While this guide provides a comprehensive overview, remember that safety is paramount. If you ever feel unsure about any part of the installation, it’s always best to consult with or hire a professional. Proper air conditioning installation, regular air conditioning maintenance, and timely air conditioning repair services are essential for ensuring your system operates efficiently and lasts for years to come.
For expert assistance with your air conditioning needs, including installation and maintenance, visit Radi Air. Our team is ready to help you achieve the perfect climate in your home!
About the Creator
Radi Air
Radi Air specialises in air conditioning services, including installation, repairs, and maintenance for both residential and commercial properties in Sydney. With over 25 years of experience, they offer high-quality solutions.
Keep reading
More stories from writers in Beat and other communities.
Ludacris and Nelly draw backlash over bookings at MAGA-coded music festival
Ludacris and Nelly headlining a mostly right-wing event is good for them. It’s also great for the genre of hip hop. The two rap veterans have showcased their talents on other stages. Why can’t they perform for mostly MAGA folks and grab that bag?
By Skyler Saunders25 days ago in Beat


Comments
There are no comments for this story
Be the first to respond and start the conversation.